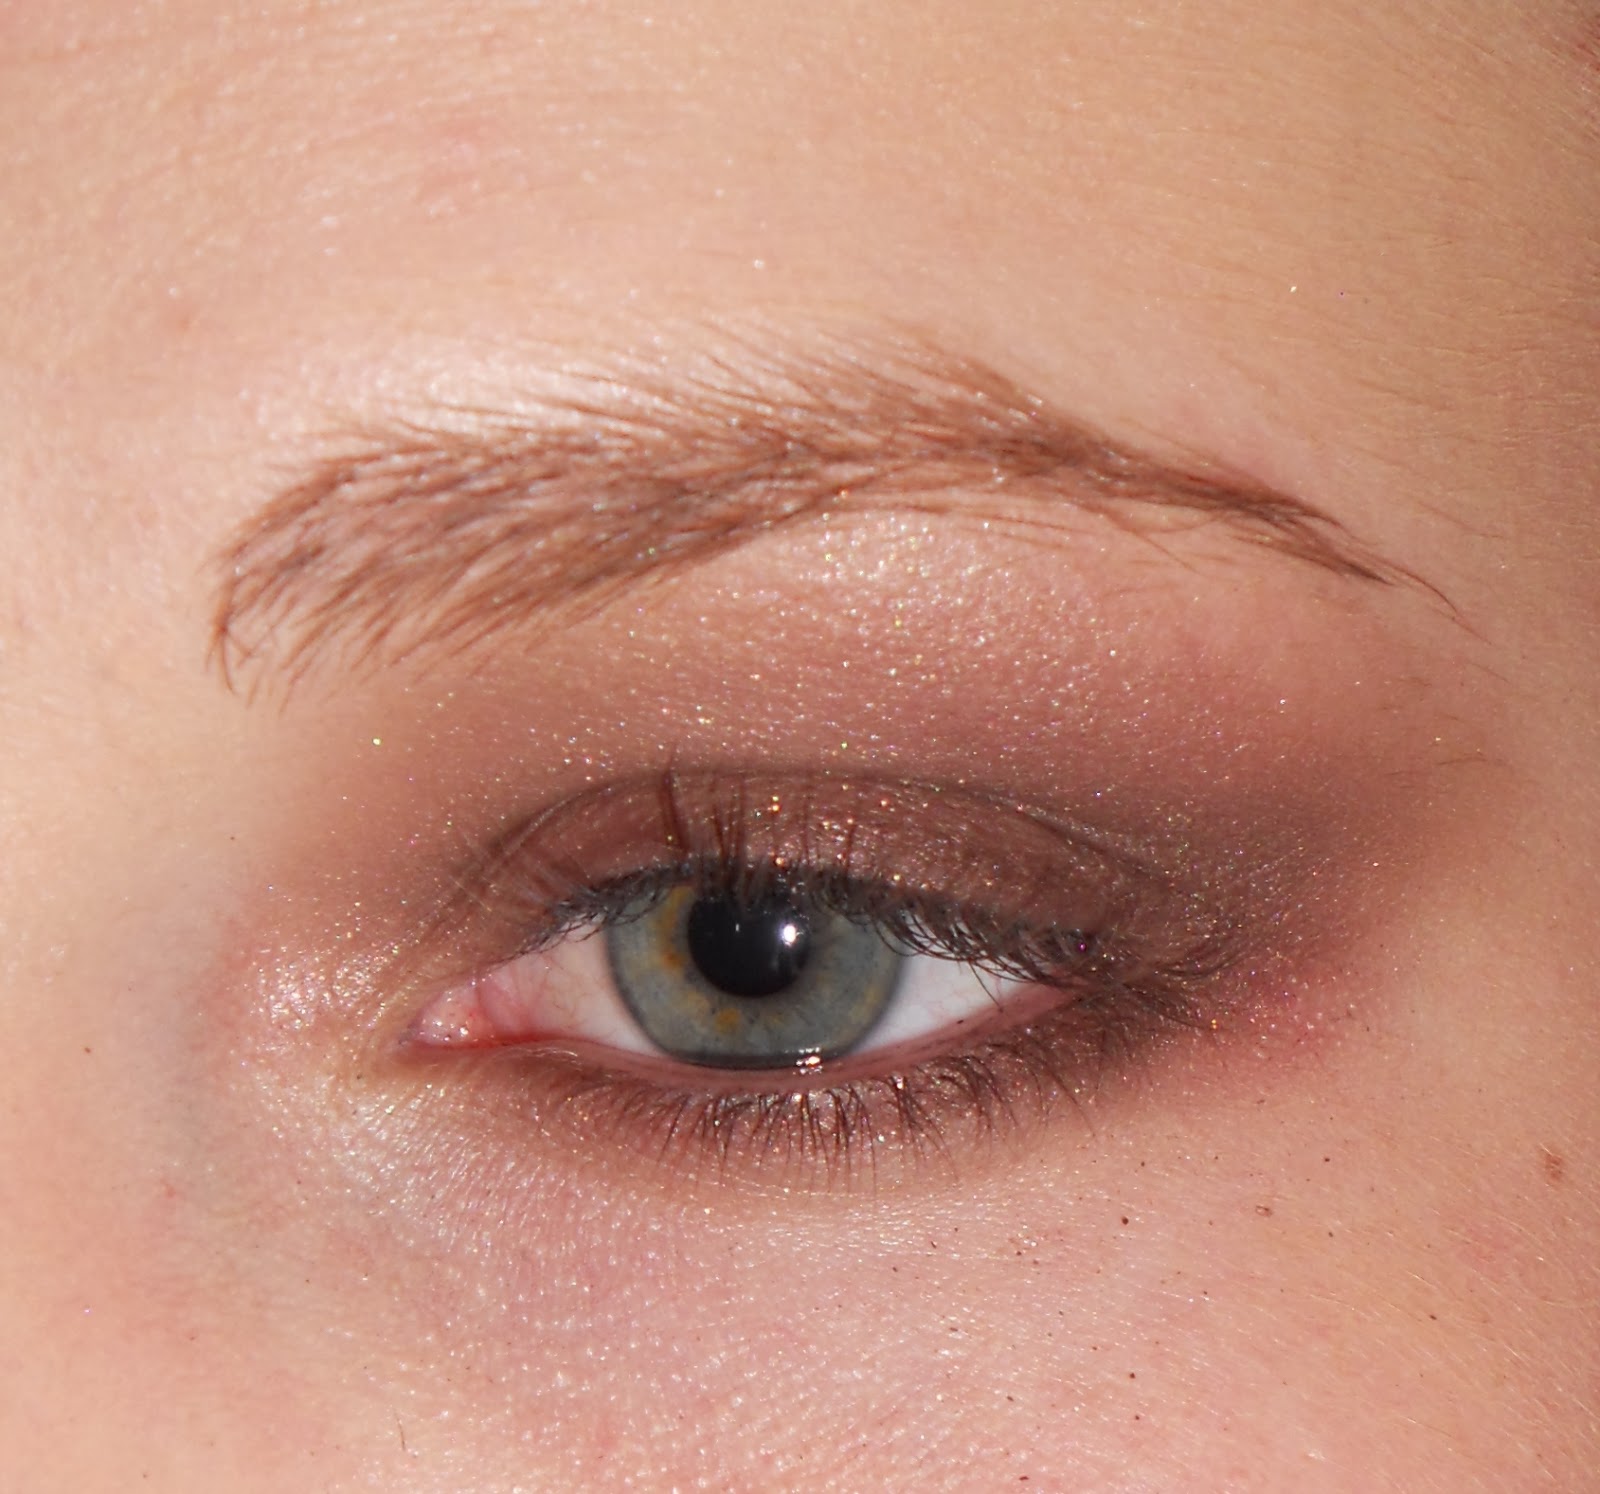
Sunday, November 2, 2014

How to: Straight Hair

Hey guys!

It's been forever since I've made a post but here are some tips for straightening your hair! (Video at bottom)

I've been flat ironing my hair for the past 10 years so I've gotten pretty quick at it. At first, my hair was so thick and long that it took me nearly an hour or two to get through it all and by then, it still didn't look great. But I've since perfected my technique and now I'm down to about 15-20 minutes!

Your hair is a very special thing and I highly encourage you to spend a little more money on your hair care products. That means shampoos and conditioners that may be $20 each and a heat protectant that is at least $10. Of course, if you aren't constantly exposing your hair to extreme heat, you certainly don't have to spend a whole lot (but it still wouldn't hurt). Your hair is worth the money-it's an investment! I promise.


This is my hair after I showered and let it air dry. it's a little bit poofy and wavy so let's get it straightened out!
My hair is incredibly soft and super healthy post-straightening. I wish you could feel just how soft and healthy it is. I use a lot of good products to protect it and it is definitely worth it.


These are the products that I used:

I've used this Nexxus product for about a year and I don't foresee myself using any other kind of heat protectant of its nature. I randomly decided to use an older product I had just to see what it would be like and I was surprised to realize just how well the Nexxus protectant works. I highly recommend using it if you're in the market for a quality heat protectant. I found it at Walmart for close to $10 but I also know that Ulta sells it. 
I don't use the Tresemme heat protection mousse every time I flat iron my hair but it is definitely a good product. It does add a really good texture to my hair to make it stronger. It is also super effective when blow drying your hair. 
I have been using this Nume flat iron for 4 years and it still works just as well as it did the first time I used it. Nume creates truly quality products that are reasonably priced. I highly recommend using their products (shop here: http://numeproducts.com/)


Here is a video showing my technique!


Something to note:
If you use a comb in combination with your flat iron like I show above, your hair will be much less tangled and much much straighter. Additionally, try not to touch your clean hair with your fingers as much as possible. Believe it or not, your hair will get very oily quickly if you touch your hair a lot while styling. Become one with your comb and you will not be disappointed :) 

Cheers!

Sunday, April 13, 2014

Portfolio 01

Hey guys,

I decided that I'm going to almost go back to my old ways in doing tutorials where I'm going to use pictures instead of making videos. I'll put a before and after photo up and I will also list what products I used to achieve the look. If you have a request to see it done in a video then I will most definitely make one but otherwise, I won't. I don't have loads of time to record, edit, and upload the videos so this will be much easier for me. But of course if I do have the time to make a video, I will do so but this will be my primary way of blogging from now on. Thanks for understanding!

For this look today, I decided to use a look that is very soft and light. It is also perfect for Easter or if you're going out on a date. 


Products Used:
♡ Almay Smart Shade CC Cream (100-light pale)
♡ Neutrogena SkinClearing oil-free liquid foundation (40-nude)
♡ MAC Studio Finish Concealer (NW15)
♡ Maybelline FITme pressed powder (130-buff beige)
♡ Ulta Baked Bronzer
♡ Maybelline Dream Mousse blush (20-peach satin)
♡ Make Up Store eyeprimer (clear)
♡ MAC eyeshadow (haux)
♡ Naked Palette (Naked, Buck, Dark Horse, Half Baked)
♡ L'Oreal Paris Infallible eye shadow (888-Iced Latte)
♡ Maybelline EyeStudio gel eyeliner (blackest black)
♡ Maybelline Great Lash (Very Black)
♡ Rimmel London lip pencil (007-rose quartz)
♡ Revlon Super Lustrous Lipstick (012-sky pink)
♡ Maybelline Colorsensational lipstick (515-coral crush)
♡ L'Oreal Paris Colour Riche lipgloss (159-golden splash)


Saturday, January 25, 2014

Walmart Haul - January 2014

Hey y'all!
I bring you another Walmart haul full of goodies :) 
I went into Walmart with 3 things on my list: 
Lettuce, hair masks, and Shake N' Bake
Oddly enough, I came back with loads more stuff (funny how that happens). 
So anyway, here's what I got tonight! 


I initially wanted a new lipstick but I couldn't decide on a shade so I figured I'd try out this lip gloss. This is the only lip gloss in my inventory so I hope it's worth the $5.97.


I like my BB Cream but have been super curious about using a CC Cream. I figure it might do more justice to my skin to help even out the tone of it. This guy was $8.98. I think Maybelline had a CC Cream for about $12 but I figured I'd give the slightly cheaper one a shot. Fingers crossed that it's a good investment :-) 


So, I'm running low on mascara and this is the cheapest one you can find. I'm almost certain that every girl has used this kind before but I never have so I hope it's a good deal! If I end up liking it, I'll like it more because it's only $4.44


Strolling down the Maybelline aisle, I came across this blush and powder. I only have 1 powder blush and I have barely any face powder so I figured I'd invest in these. I have used FIT products before and they seem pretty good. The color of this blush is really pretty and will be perfect with my skin tone :-)
The blush was: $4.48
Pressed Powder: $5.94 


My jaw dropped when I saw that Walmart is now selling e.l.f. products. This guy was just $1.00 (what a steal!). I've been planning to get a pair of false lashes for a while and well, when they're $1, you can't pass it up. 


On my last Walmart trip, I picked up a couple of these hair treatments. Last night, I used the Argan Oil treatment overnight and I really, really love it. So, I just HAD to go back and get more of these things. I still have to try the Keratin Protein one but I'm sure I will be just as pleased. Like, honestly, my hair has never been healthier. I can do a separate post about this stuff if you'd like :-)
$1.77 each


This is like my fat-kid craving food. Just had to pick up a bag of sugar snakes :-) 
(don't judge me lol I ran this morning). 
$1.00


If I end up liking these products, I will make a post about it someday! :-) 
Thanks for looking! xx
Kara

Saturday, January 18, 2014

Get Ready With Me!

Hey guys!

Want to get ready with me in the mornings? This is how I do it: :)


Thanks for watching! xx
Kara

Lifelong Favorite Products!

Hey guys!

I know it has been like forever since I've made a post for you but here it is! All about my favorite cosmetic, hair, and other various products! :) I hope you like it!


Thanks for watching! xx
Kara

Monday, December 2, 2013

Golden Eye Look (vid)

Hey guys!

Here's the new look!


As promised : 


Thanks for looking & good luck!
Kara

Wednesday, November 20, 2013

Shin Splint Taping (vid)

Hey guys!
11/20/2013
So if you follow me on twitter, you'll know that my worst enemy right now is this shin splint I've had for 2-3 weeks now. I've tried relaxing it and icing it but nothing has really helped me out as much as I need. So I found out about KT tape and looked online on how I should tape my shin. Unfortunately, I couldn't find a very good video that was super related to the area that I have my shin splint in so I ended up making my own arrangement.

Like I mention in the video, I'm not an expert or certified in Kinesiology but I figured I'd give it a-go and it seems to help me out pretty well.

Here's how I do it and let me know if you have any questions at all. 

(BTW, I apologize for being quiet--my roommates were sleeping. Also, I know the background noise is super annoying. Will try to fix ASAP)

**Update: I ended up adding another full length piece over the two horizontal pieces to close the gap. Here are some pictures of the final wrapping:
 

Again, I got my tape at Albertsons for $10 but there are many more color options on KT tape's website (http://www.kttape.com/) but you'll have to pay a little more plus shipping for it. 


Definitely feel free to follow me on twitter and make sure to subscribe to my YouTube channel!


Good luck and happy running!
Kara


Monday, November 18, 2013

Simple Eye Shadow & Brush Care (vid)

Hey guys!
So here's a new video for an eye shadow look:

Also,I made a video addressing how I clean my makeup brushes:

Thanks for looking & good luck!

Kara

If you don't already, follow me on twitter!


Wednesday, November 13, 2013

Quick Fall Makeup Tutorial (vid)

Hey guys!
I made another makeup tutorial video. This one is a bit quicker and as I promised, I posted a picture of the final look as well. 
Here's the video:


final look:
I hope you guys like this one! Let me know what you think. 
Good luck!
Kara


Friday, November 8, 2013

Everyday Makeup Tutorial (Vid)

Hey guys!

So big news, I made my first video tutorial (finally!). I figured it would be much more convenient than taking a bunch of pictures and sorting through them all and what-not. 

The quality isn't great and the lighting is kinda weird. I'll try to look into finding new places to do the videos in the future if all goes well    :-) 

Anyway, basically to summarize this tutorial, I changed up my normal foundation routine and I presented a new eye liner look that I'm currently in love with. 

Here are some pictures from some of the days I've work this look. It's very versatile and looks good no matter what :-)


That's it for now and I plan on making more (and better) video tutorials in the future whenever I have the free-time :-)
Thank you guys for your support- it means the world to me!
Good luck!
Kara


Saturday, October 12, 2013

Makeup Tutorial 06

Hey guys!


I've created a couple of new looks for you. But it's really 2-in-1 since I did half of my face a day-look and the other a night-look. Nothing too much has happened lately except that I added bangs to my hairdo! I hope y'all like this one :-)


Fresh clean face with my foundation on!

Start out with the L'Oreal Infallible in 888 eye shadow. I just use my ring finger to put it on the lids. 

From here, I'll be working on my left eye for the day-look!

So I used a dome shadow brush to apply MAC Haux to the hollow of my eye and blended upward.

Then I used Sidecar from my Naked palette on the outer corner.


Then I added this brown gel liner, curled my eyelashes and applied my mascara!

The finished look. Very light and simple. Also quick for early mornings!

Onto my right eye for the night-look. I used Buck from my Naked palette to the hollow of my eye and also blended up and down. 

The key to this look is layering the colors to make it more dimensional!

Next I used my Makeup Store Eye Shadow in Brownie to the outer corner and under the eye and blended well.

I then used that same brown gel liner to smudge onto the base lid
and some on the outer corner

Using my NYX roll on shimmer, I put that on my main lid to add a little sparkle :-)
And the NYC black pencil eyeliner to my bottom waterline and my lid. I smudged it with
a smudging brush to make it softer.


I lined my top lid with my favorite liquid eyeliner and then added mascara.


The finished looks!

My finishing touches are these bronzers. The top one is more for the day since it's lighter. It's also better
for the winter time since you generally get more pale during the winter.
And the bottom left is the night look. It's OK to go a little darker at night. 


I hope you guys liked this one and if you want, let me know what you think of my new hair :-) 

Good luck!
Kara

Monday, September 16, 2013

Makeup Tutorial 05

Hey guys!


It's been quite some time since I've posted on here but this tutorial is all about blemishes and the best way to cover them up! Middle school was my all time low when it came to acne. I was sooo self conscious about it and I still am today even when I get a few breakouts here and there. Instead of those big hormonal changes causing my acne, nowadays, it's stress that causes them. And apparently I'm stressing out since my skin is not clear of acne. But I've found that these ways really help to disguise the severity of the blemishes. But on top of everything, do remember to wash your face at least once a day, and most importantly, don't forget to use an oil-free moisturizer. 

I started off with a clean, moisturized, and primed face per usual. You'll get best results when you have a clean canvas to work on!

So, I recently got my first MAC foundation. I have the shade NW20 which I think is a little bit too orange or tan for me since I'm pretty pasty. So what I've done is I've mixed a little bit of my old foundation (on the right) to help balance out the shade and make it a little bit closer to my skin tone. One thing that I have found with the MAC Studio Fix Foundation is that it initially goes on a little bit dark and then as it settles in your skin, it lightens up just a little bit. 
Specifically for covering up blemishes, I do recommend using a full coverage foundation so that you don't have to use as much concealer afterwards. Often times, acne looks worse when it's caked on with concealer. No bueno. 
The concealer I'm using is MAC Studio Finish Concealer in NW15. You should generally go a shade lighter than your foundation for concealer. MAC 242 brush is a good brush to use when covering up blemishes. The technique that makes the difference is dabbing the concealer over the blemish and then blending lightly with your ring finger. You want to avoid wiping the concealer on because it'll wipe away the foundation and make you look stripey! Also, no bueno. The biggest thing is probably blending the concealer well.

After I've applied foundation and concealer to the problem areas of my face.

Complete your makeup with your favorite blusher, bronzer, powder, and lipstick.

It's truly as simple as that and it really does work well. If you have really red acne, try using a green-tinted concealer to help cancel out the redness of it then carry on with the rest of these steps. If you have one of those monstrous pimples that doesn't come up to the surface but it leaves a huge bump under the surface, the best thing to do for that is to make the spot as matte as possible. It'll create the illusion that it isn't as raised as it is. 

Well, anyways, I hope y'all liked this one and helped you gain a little bit of confidence back!
Good luck!
Kara