Wednesday, June 5, 2013

Hair Care Routine

Hey guys! This post is all about my hair care routine including the products that I use and love and also the process of how I style my hair on the regular! I know a lot of girls don't like to share their beauty secrets but I'm more than willing to show you guys because I'm not mean haha! But really, this is a routine that works well with my hair type and so I stick to it! Enjoy! <3


This set of shampoo and conditioner is absolutely amazing. It makes my hair feel amazing for at least 2 days. 

After I shower, my  hair is super duper soft and it feels really clean and light which is exactly what it's supposed to do. 

I definitely recommend this set!


So, after I get out of the shower, I put my hair in a towel while I put moisturizer on my face.


I always towel dry my hair till it's only damp. 
This is my hair out of the towel! It's super soft and it smells amazing. 

Not to mention, it is extremely easy to brush through. 


I'm telling you, this stuff is amazing all around. 
I do have split ends like pretty much every girl who heat styles their hair and I found that this stuff is amazing for it. You can find this coconut milk serum at Walmart for like $5ish and it's well worth it. 

When the ends of my  hair are mostly dry, I apply just a little bit (next picture amount) in the palm of my hand and I apply this directly onto the ends of my hair. I avoid putting it on my roots since it'll weigh it down. I've been using this for about 2 weeks and I already notice that my hair is already healthier. 

5/5 would recommend!


You don't need much to go a long way! It's like an oil so it'll do the job with just a little bit!

Your hands and hair will smell like paradise after using this! :-D

Blow drying is a good way to get the extra moisture that'll weigh your hair down. The most effective way that works for my hair is to blow dry my hair away from my scalp. Some people blow dry their hair upside down but I don't do that since it makes my hair unmanageable. 

My hair is naturally oily and so blow drying it dries it out enough to where it is healthy (if that makes sense). You really just have to experiment and find out what works for your hair type the best. 


After blow drying!

To optimize volume when straightening using a flat iron, try to run the iron directly 'upwards' from your roots. It's a tricky thing to do so you'll have to practice it. 

I've been flat ironing my hair since I was in the 4th grade so whenever I style my hair, it's second nature to me what the hand positions and angles are. 

It definitely takes practice!
Practice makes perfect! 

It is super duper important to use a heat protectant when straightening your  hair with heat. 

I've been using this Ion heat protectant for a couple of years now and I love it. It does its job. I got it from Sally's Beauty Supply for like $5. 

If you really want a quality product, I'd look into the Tresemme heat protectant sprays. They get good reviews!

I generally only spray this on the ends of my hair to about 3-4" of it. I don't spray this on my roots at all. 


This is the flat iron I've been using and I love love love it! It's from NuMe for about $160 but it's so worth it. I've had this straightener for about 4 years now and it is still super hot and does the job perfectly well. 

If you're looking for a quality straightener, this is one I'd recommend the most. I've gone through at least 5 since the middle school and this is by far the best I've come across. 

5/5 would recommend!


When I straighten my hair, I avoid using my hands to lessen the transfer of oils so instead, I use this comb. It's important to use a comb that has the long handle so that you can easily section off your hair. 

This is basically my  hand and it's definitely a skill to learn over time. 

Half way done! Looks amazing already. 

Totally done! My hair is so soft and healthy looking and feeling. 


I hope you found this somewhat helpful! If I ever get to do video blogs, I'll go into more detail about some things for sure!


Oh! And here's a fun little hair-do to try out! It definitely would work out better if I had longer hair D: But still very cute and fun :)


Make a high reverse bun on the top of your head. 

Make sure to leave enough hair sticking out of the bun!


 Then bring that extra hair that was sticking out between two halves of your bun and secure it with a clip or bobby pins. And ta-da! You have an adorable bow :) If you want to keep this hair-do all day, be sure to use some hair spray for the fly-aways if you have any!


Kara Marie
xoxo

Monday, June 3, 2013

Bucket List

There are some of the things I want to do/ places I want to see/go to before I die! Speaking of bucket list, if you  haven't seen the movie starring Jack Nicholson and Morgan Freeman, you definitely need to. It's a touching and inspiring movie. 

1. I want to see the Milky Way with my own eyes. 
2. I want to make enough money to pay my parents back for everything. They really deserve it and more. 
3. I want to host a big party with all of my friends, family, and co workers for a holiday. 
4. I want to own an Audi- A4, A6 or A8 would be totally fine :)
5. I'd like to send my parents on a really nice vacation. Maybe to Hawaii or on a cruise to somewhere nice. 
6. I want to go on a road trip to Canada and spend some time up there. 
7. I want to go to Canyonlands, UT and I want to visit the Grand Canyon. 
8. I want to play in a nighttime golf tournament (while I still have skill lol).
9. I want to go to a concert. Coldplay preferably. 
10.  I want to look in the mirror and be happy with my body. 
11. To make amends with people from my past. 
12. Go on a fun adventure with a couple close friends. 
13. I want to create my own cookbook that I can pass onto my children (if I have any). 
14. To fall in love. Maybe start a family. 
15. To create at least one video makeup tutorial.
16. Go paragliding.
17. Go fishing off of a canoe. 
18. To do a big photoshoot with my family and hang all of the pictures up everywhere. 
19. Make Par at any golf course. 
20. Create a scholarship in my name when I'm super old.
21. Be okay when my dog (my baby) passes away. 
and 
22. Graduate college & get a job!

Any similarities? :-) 

Kara Marie
xoxo

Sunday, June 2, 2013

Makeup Tutorial 01

Hey y'all! 


I'm so glad I've decided to start posting about my makeup tutorials. I apologize since they're all in pictures but I don't have an HD webcam that would work for doing video tutorials (yet--maybe someday)! Anyways, I'll try to be as descriptive as I can! Let me know what you think and if you have any suggestions :-) 


This is me without any make up on (scary-I know!) but there are a couple of steps to take before I start slapping on that foundation!


Yeah, I know. I'm breaking out and it's super gross. Lol I've been pretty stressed out lately which is why I'm breaking out. 
It is super important to wash your face with an oil-free face wash. There's no reason to be washing your face with oil; especially if you have skin like mine: oily and dry in places. 

I've been using this Neutrogena face wash for at least 4 years now and I absolutely love it. It works so well with my skin. It doesn't dry it out too much and it doesn't clog my pores either. 

You can get this anywhere and it's pretty cheap. It definitely lasts a long time too! If I had to guess, I buy maybe 3 of these a year (that's really good since I also use this on my body when I shower too). 

Even though I do have acne, it isn't because this face wash doesn't work... Because 90% of the time, I don't have acne. I'm just stressed out. Stress = Acne :-(


This is another one of Neutrogena's products that I absolutely love. This oil-free moisturizer is one thing that I cannot and will not live without. Since I live in Colorado and Wyoming, the air is soooo dry and if I don't put this on right after I wash my face or shower, my face will get super dry and start to  hurt. 

I've actually had a nightmare about washing my face and forgetting to put this on... 

Moisturizer is so important to use even if you had oily skin. This will keep your skin moisturized with a good kind of moisture and not so much from the oil that your body produces; therefore, you will get less acne when you use an oil free moisturizer. 


Alright! So I'm all washed up and moisturized up.


If you want clean looking makeup, it is always best to wash your face before you put any makeup on.


Let's start changing from ugly to pretty! 
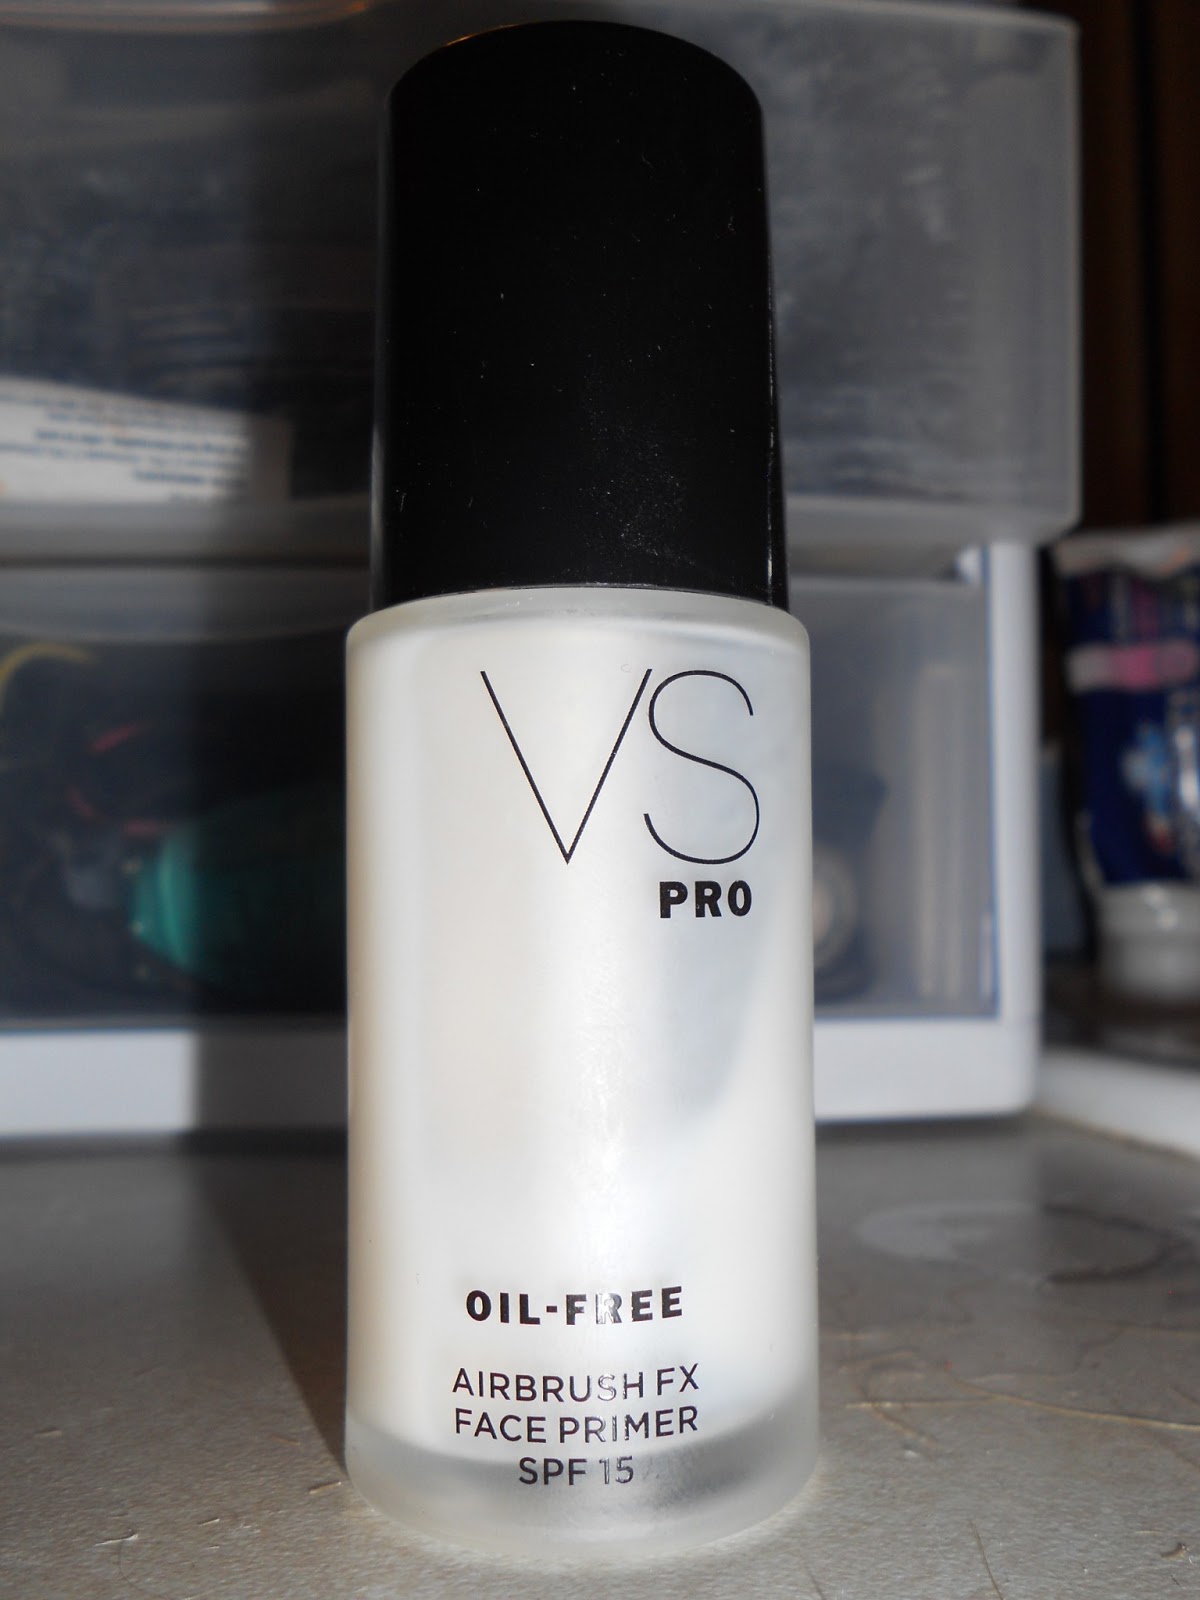
I haven't always used a face primer when doing my makeup but I'd say that it definitely does make a difference. 

This Victoria's Secret oil-free face primer is the first face primer that I've used so I can't really compare to other brands but I will say that it is a pretty good product. You don't need a whole lot to do the job. 

As you guessed, it isn't exactly cheap and that's why when I run out of this, I'm most likely going to try out Neutrogena's face primer (it's only like $12 vs $20ish at VS). 

Face primer is a product that I'd feel guilty about not using before I put my concealer and foundation on. 


For concealer, I use a small brush instead of my fingers. This way, I don't put as much of the oils and bacteria that is on my hands directly onto my face. 

It's always a good idea to avoid applying makeup with your fingers in general.  


I use a light colored concealer under my eyes since sometimes I have dark circles and I just like to brighten my eyes up as much as I can. 

I also apply light concealer on the bridge of my nose to make it appear more straight. 


This is what I look like after just applying the light concealer under my eyes and on my nose! Already looking a little better ;-)


Since I do have some red blemishes on my forehead, I use this green-tinted liquid concealer. The green tint cancels out the redness from the acne! 

I got this at Sally's Beauty Supply for like $5


This liquid concealer is good for highlighting areas on your face or if you need additional coverage. Here, I used it on the uppers of my cheek bones. 

Again, another Neutrogena product that I love. 9 times out of 10, I will most likely use this foundation every day. It's lightweight, blends nicely, oil-free, and it looks natural. It's semi-matte so it doesn't make your skin super shiny. And as an added bonus, it promotes the health of your skin. 
I never touch up my makeup through the day and by the end of it, my foundation still looks really nice. 
At Walmart, it costs about $11 but it's definitely worth every penny. 


The way I apply my liquid foundation is by pouring a small bit onto the back of my hand. This will help to heat up the foundation and as a result, it'll be a lot easier to apply and blend! 

If you haven't tried this, I recommend it! :-)
This is the brush I always use to apply my foundation. Stippling brushes are great to make sure your foundation is applied evenly. 

Again, if you don't use one of these for your foundation, I definitely recommend it. 

This brush is a part of a brush set from Coastal Scents! Here's the link:
http://www.coastalscents.com/brushes/sets-and-cases/br-set-011.html


After foundation! Getting there! 
To set my liquid foundation, I use a little bit of this Revlon powder. It does the job well! If you're in the business of taking a lot of flash photos, you should look into this line of products. I've used the foundation that goes with this powder and it's great but it didn't look great on my skin. But that definitely doesn't mean  you shouldn't try it out! Although, if you're serious about it, I'd look into Smashbox's products designed for flash photography.


Bronzer is pretty important after you put on foundation and powder. It's your opportunity to add a little bit of natural color back into your face and to make your face more dimensional and not one shade. Of course, don't over do it. 
Just apply a little bit on your cheek bones and blend it up to your temples. It shouldn't be super noticeable. 

Use a rough-angled brush to do this! 


The same dealio goes for blush as well except focus it on the apples of your cheeks. 
Where are your apples?
Smile and where your cheeks puff up above the corners of your mouth, that's where your apples are :-) 

p.s. don't forget to smile ;-)
Eye shadow primer is arguably one of the most important products to have in your makeup inventory. If you skip out on the eye primer, you're skipping out on the potential that your eye shadow has to offer.
It works by brightening the colors of your shadows and it prevents smudging and creasing of your eye shadow throughout the day!
I've been using this one for 2 years now. I bought this tube from the Make Up Store 2 years ago and it's almost gone now (sad face). Pretty amazing considering I use it practically every day. 


This is an exception to the whole, don't use your fingers thing. When you are applying your eye primer, make sure to use your ring finger since it is the most gentle of your fingers. 

Never ever ever ever drag your skin or pull on it... If you don't want wrinkles or sagging face when you're 50, be gentle to your face and use your ring finger to apply your products.  


The first eye shadow I used is Bootycall from Urban Decay's Naked Palette (the first one).

It's such a great base shadow for any look that you want to achieve! (That's why it's almost gone haha).  


 I'm only applying this to the main lids. 
The next shade I'm adding is Suspect. This is one of my favorite shades of brown to use. 

I'm using a pointed blending brush for this one. 

After I applied Suspect, I applied a little bit of Snakebite (dark brown) on the outer corners of the upper lids to add depth. 


This is what it looks like so far! (Before adding Snakebite).

I applied Suspect right above the main eye lid and blended it upwards towards my eye brows. 


My liner of choice is always NYC liquid eye liner. If you're afraid of liquid eye liners, I understand! They're hard to use and take a while to get good at using them but they're definitely worth it if you practice using them. I've always used this brand and I love love love it. Not only does it apply well, it's affordable too. Like $3 at Walmart. 

The best thing about using a liquid eye liner is that they don't smudge through the day like cream or pencil eye liners do!


A little bit of a winged line to add drama to my eye lashes. 

To make my eyes less "top-heavy," I applied some Snakebite to my lower eyelid/lashes and also some Half baked (gold) as well. 

I'm obsessed with gold eye shadow. 


How it looks so far! 


The finishing touch for my eyes is mascara! After I curled my lashes, I slapped some of this magical stuff onto my eyelashes.

It really does put the icing on the cake. 


When doing your lips, it's super important to keep them moisturized before you put any sort of lip stick on them. 

My favorite chap-stick is the medicated kind... I won't use any other kind! 


Apply your favorite lipstick :-) 

;-* 
And Ta-Da! The look is complete! 


I hope y'all liked this look. I'll probably end up putting some more up whenever I have time to!
I really do love doing makeup and I love showing people what I can do! 

Kara Marie
xoxo