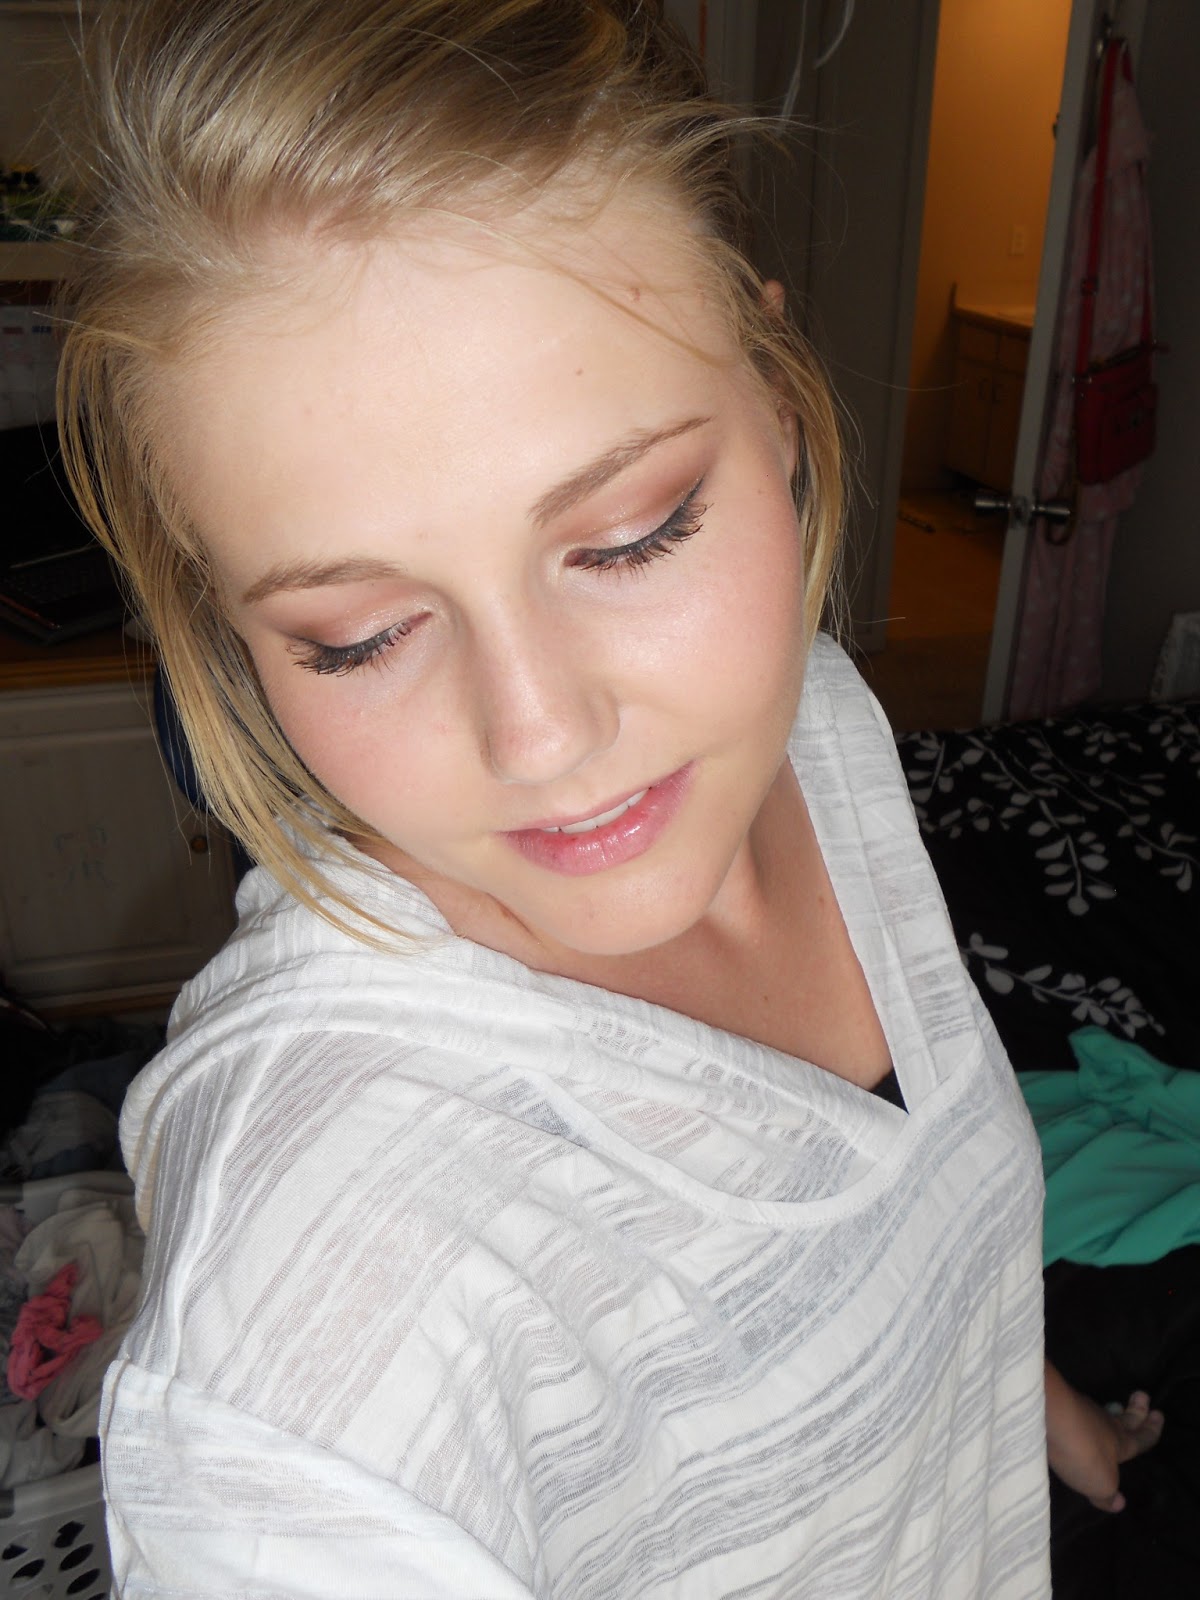
Monday, August 19, 2013

Walmart Haul!

Hey y'all!

Since I mostly live in Wyoming, there really aren't too many (if any) makeup stores such as Ulta, Sephora, Mac, etc... that I'd typically find pretty much anywhere back home; So I've had to make-do with my local Walmart. Here are some beauty stuffs that I picked up! :-)


I can't really believe I haven't gotten these products before. Here I am once again, preaching about Neutrogena! I love some of their other skin care products so I thought I'd give these a go. There were so many things to choose from so I just picked these three for now:

(center) Purifying Facial Cleanser - $6.97
(left) Multi-Vitamin Nourishing Night Cream - $12.97
(right) Eye Cream - $11.47

[You can skip reading this next part if you want haha]
{ There were two choices of similar facial cleansers: this one and one that was also a makeup remover. I chose this one because I don't like using makeup remover washes on my face- in my experience, it makes my skin oily. When I tried it out with complete makeup on, all of my makeup came off like a charm. So out of the two, I'd choose this one!
I know that you're probably thinking, "She's only 19! Why is she using an eye cream already?" Well, wrinkles are inevitable but the best way to avoid them (at least as long as possible) is prevention! It's a lot easier to prevent them than to try to deal with them once you get them. One of my goals is if I can find products that will make my skin look good enough to not have to wear a layer of foundation over it every day, I'll be truly happy. Keep your skin happy and it'll return the favor! :-) }

These products were quite pricey but I have faith in them so for now, it's worth the money!


(top) L'Oreal cream eye liner in 174 bronze - $8.47
(pink border) Maybelline Lip Stick [515 Coral Crush / 725 So Pearly] - $5.50 ea.
Rimmel Lip Liner in 007 Rose Quartz - $3.97
(bottom) L'Oreal infallible eye shadow - $6.97

Again, pretty expensive but beauty is an investment (right?)


(top) Maybelline Eye Liner in brown - $5.94
(middle) - Rimmel Eye Liner in nude - $3.97
(bottom) - Maybelline Falsies Mascara - $5.94


I did swatches of some of these. 
From left:
1. L'Oreal infallible eye shadow
2. Maybelline Eye Liner in brown
3.  L'Oreal cream eye liner in 174 bronze
4. Rimmel Eye Liner in nude
5. Rimmel Lip Liner in 007 Rose Quartz
6. Maybelline Lip Stick 515 Coral Crush 
7. Maybelline Lip Stick 725 So Pearly

I've already used the Neutrogena skin products tonight and so far-so good! While some of these products will pack a punch in your bank account, I think gradually they are worth the expense. If you feel your best, feel self confident and beautiful, it's worth it! I always enjoy adding more to my collection even if it is from Walmart!


Good luck!
Kara


Wednesday, August 14, 2013

First Day Back Makeup!

School is just around the corner and I don't know about you guys but I'm pretty excited to go back. I'll be taking my very first class pertaining to Petroleum Engineering this fall along with various other math-based classes. It'll be a tough semester but it'll also be a good one :-) 
It's super important to dress your best on the first few days back since first impressions are crucial!
If you look good, you'll feel good, and you'll do good.


I've only done 1/2 of my face with my foundation to show how well it covers the redness of my cheeks. 
Prior, I washed my face, moisturized it, and applied my face primer.
A really good piece of advice for deciding what shade of foundation to use is go with what is closest to the color of your neck. This way, you won't have to blend it too much on  your neck. It's much easier to add color than to try to take it away (that's what blushers and bronzers are for). 

This is the amount of eye primer I use for each eye. A little goes a long way! 
(All of the products I've referred to are described in previous posts - figured I wouldn't type it all out again). 

For the first eye shadow, I'm using Sin from Urban Decay's Naked Palette. I put this on my main lid. 

The next shadow I use is Buck from the same palette. Using a domed crease brush, I put Buck all over the rest of the lid - blending upward to the brow.  

(I apologize for the blurriness)
If you are a more simple look kind of person, you can stop here with the eye shadow. But I like to add at least one more shade to add depth. 

The extra shade I'm using is Smog. I applied this shade with this hollow brush to the outer corner of the eye including on the outer of the main lid over Sin. Additionally, I blended this lightly along my bottom lashes. 

I absolutely love these colors because they really bring out the blue-ness in my eyes. 

For my last shadow, I used Virgin in the inner corners of my eyes so I look more awake (which will come handy when I have 8 am classes!). 

Once again, if you wanted to, you could stop here and just put mascara on and call it good! It stands on it's own very well as a lighter look. 

A new technique that I've been incorporating more and more is using a thin eye-liner brush and eye shadow to apply my eye liner. Here, I'm using Dark Horse. 


You can either just go with the eye shadow eye liner or you can add your favorite liquid liner over the top of it. It tends to add a softer touch to the look when you combine both. 

The very next step is to apply your highlighter. Here, I've colored the areas that I think are best to apply high lighter. 

The blusher I used was Maybelline's Dream Mousse. I applied a little bit with my ring finger to the apples of my cheeks. 

I powdered my face with Maybelline's Dream Matte powder to set my foundation. 

To finish the look, I added Victoria's Secret Mineral bronzer to my cheek bones, bridge of my nose and a little bit around my face. 


It's even cute with glasses!


I wish you all the best of luck this academic year, I hope you own it :) 


Good luck!
Kara


Thursday, July 18, 2013

Birthday Makeup Tutorial!

Hey y'all, I recently celebrated my 19th birthday and I decided to make a new tutorial using new products that I got for it!

I apologize for looking un-awake... I decided to do this one right out of bed! 

This face cleanser was one of the free samples I got when I went to Sephora! It's a good product but I think I'm going to stick to my typical Neutrogena face wash :-) 

Facial masks are one of my favorite things to do and the Goji Berry formula is definitely one of my favorites. It hydrates and leaves my skin feeling really soft and refreshed! It goes on clear and dries kind-of white (it looks like the peels from a bad sunburn lol). 
I left this on until it dried!

Since I only used about half of this packet and I want to reuse it in the future, I put it in a bag (hopefully it doesn't dry out!).

So the mask has dried and my face looks all peel-y. I washed it off with some warm water!

This was the other free sample from Sephora. This face moisturizer is nice but I'm not sure that I'd buy the full size. I'm too attached to my moisturizer! 
I put this all over my face after I washed off the mask. 


Next step before foundation is always face primer! I'm using the Victoria's Secret Pro Primer that I mentioned in my other posts. Just waiting for this one to run out so I can try out a new one! 

I happened to stumble upon this new foundation formula by Neutrogena. It's supposed to cater to normal-oily skin (which I have-yay!). I have been using this foundation for about a week and I already love it. It looks very natural to my skin :-) 

I saw this e.l.f. stipple brush at Target for $3. It was a bargain for sure and I love it already.
99% of the time I use stipple brushes for my liquid foundation and this one is the perfect size. 

After I applied the foundation :-)

After 2.5 years, I finally ran out of my primary eye primer and so I had to get more while I was home. I expect this one to last me another 2.5 years :-) Very  happy with this product. 

First eye shadow I used is the L'Oreal infallible. I've used this one in other tutorials! It's a really great brightening eye shadow. Also, it is almost cream texture so it isn't as dry as normal powder shadows. 

I only put it on the main lid. 

This is in fact my very first eye shadow from MAC. I'm super excited about it and I've fallen deep in love with it already. The shade is Haux. It's a subtle color but it does a lot in the end.
I used these two brushes: (top) for the bottom lid along eye lashes; (bottom) for along the top crease and blending upwards towards brows. 


I then used my socket brush with Brownie from Makeup Store. It's important with this kind of brush to only apply the shadow on the tip so that the surrounding bristles will blend the eye shadow. 

In the top frame is a highlighter from benefit. This was a part of my birthday gift from Sephora. Here, I applied it on my brow bone and just on the top of my cheek bones. It's a very nice product and I would most likely buy this product. It really adds a youthful glow!

At this point, it's optional if you want to add eye liner or not. The eye shadows are independent enough to be it's own look but since I typically use liquid eye liner, I continued to use it! But it's all your taste :-) 

This was the second birthday gift from Sephora, it's a mascara also from benefit. This mascara is really strong and quite honestly, I'm not sure I'd commit to it in the end. I find that if I work too much at my lashes, they end up sticking together and not looking natural. But it is a good product-just not my fave!

Finally, I added a bit of the white eye shadow on the inner corners of my eyes. The color is Candlelight by Coastal Scents. 

 The finished product! Definitely my go-to look. So easy, simple, and pretty. 


I ended up getting a couple of really cute nail polishes from Target: Sugar Daddy from essie and Revlon's 580 Eclectic. Both are gorgeous colors.

All the while, I had this guy burning. It smells like happiness :-) 

I hope your guys's summers are going well and I hope this tutorial was at least a little bit cool! 
Good luck! 
Kara


Saturday, June 29, 2013

Makeup Tutorial 02

Hey guys, I've been lazy about making these but I was planning on going on a date today but it ended up not happening so I figured I'd do a makeup look as if I were to go on the date. Enjoy :)


I already applied my foundation and concealer but sometimes it helps to let those liquids sit on the skin for a little bit before you apply any powders on top. It really makes a difference. So I let my foundation sit while I do my eye makeup.  

Also, I applied Makeup Store Eye Primer.
I'm doing my makeup from my bedroom because I like doing my makeup to natural sunlight. It's a better guide to how the colors blend than in light from my bathroom. 

If I could, I'd have a vanity in my bedroom but I don't have the room :-( 


These are the products I'm using:

  • Makeup Store Eye Shadow-Muffin
  • Makeup Store Blending Brush 117
  • NYC Liquid Eye Liner (my fave)
  • NYC Eye Pencil
  • Maybelline Falsies Mascara (love it)
  • Vaseline (for my damaged lips)
  • Revlon Lip Stick in Matte 012 Sky Pink
  • Coastal Scents 252 Eye Shadow Pallete
  • Coastal Scents 22-Piece Brush Set

First, I'm using MS Muffin to apply it all over my entire lid as a nice brightening base. 


This pallet is great since there are 252 choices of colors. It's quite a lot but a good variety.  
I'm using this mid grey-brown color on the main lid with a normal eye shadow brush. 

It's very subtle which is good. 
I'm trying to achieve a sweet look-not a strong one. 

Since it is summer, I decided to go with a little orange on the outer 1/2 of my main lid. It's such a sweet color and it's so warm-it's perfect for a summer date look. 
I used this light brown on the crease and the upper part of the lid-blending upward towards the brow.

I also used this shadow on my bottom lid and blended it well.   

I tried out this color on the outer corner to add some dimension. 
I forgot to take the picture of the purple I used but I put the purple right in the crease and blended it well. 
I also added more of the orange at the end to make sure the orange was visible. 
I took my NYC eye pencils and tight-lined my top lash line with the black liner and I lined the bottom water line with the brown liner. I don't typically line my bottom water line with black-it closes my eyes up too much. (I apologize for the redness in my eyes). 
I then lined my eyes with my NYC Liquid Eye Liner. I didn't want it to be too thick so I lined very close to my eye lashes and slightly winged it at the end. 
Lastly, I put my mascara on. I don't curl my lashes because I don't think my lashes need to be curled. Plus, I like having the natural look instead of lashes that are bent at 90 degrees... I don't find that flattering. 


This is what it would look like with the lights in my bathroom. It's a lot darker. 


And this is what it looks like with some sun light. I love how it brightens because you don't want your makeup to only look good indoors.

I hope you guys liked this look. I think it's probably one of the best makeup days I've had. If you follow me on Twitter, you'll know that I did this goofy face mask after I took my shower: 
I had never used this kind before but I think it really did justice to my skin. Made it soft and glowing :) It was like $2-ish at Walmart!
Follow me on Twitter if you haven't already: @karamcarlson

Additionally, I've been in a constant war against acne lately but I'm finally winning all because of this amazing product: 
Of course, it's another Neutrogena product and for good reason. It works extremely well. It is a little pricey at $8 at Walmart. I definitely recommend this is you're having blemishes if you're willing to cough up $8 (it's worth it-I promise!)

Anyways, thanks for taking the time to look at this! If you're going on a date and you need a cute look, maybe this is enough inspiration! 
Good luck!
Kara